
Our house was bare bones when we moved in. It had been used as a rental for many years and it showed. White washed walls and yellowed linoleum, pulling up at the corners. The cheap, in both appearance and price, stock cabinet and laminate countertop package in the kitchen and bathrooms. A backyard that had never been landscaped beyond spreading a pile of gravel over the entire thing. It was a blank canvas.
Our first project was to add some color, and by color I mean 50 shades of grey and one of white.
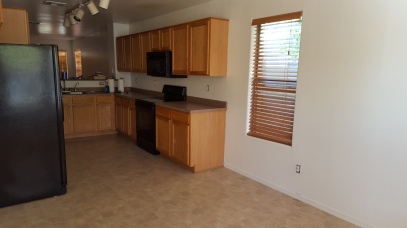

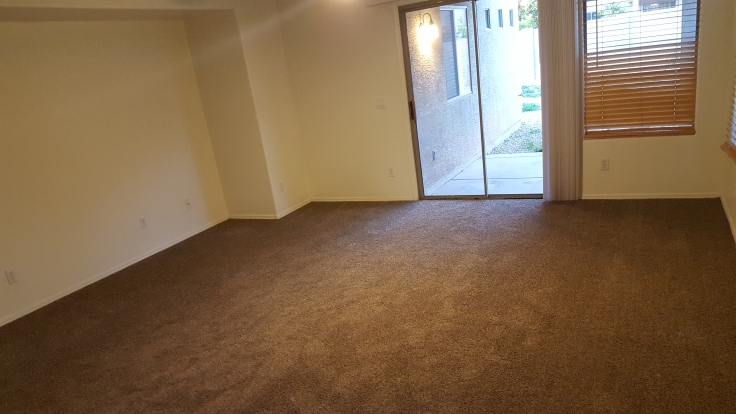
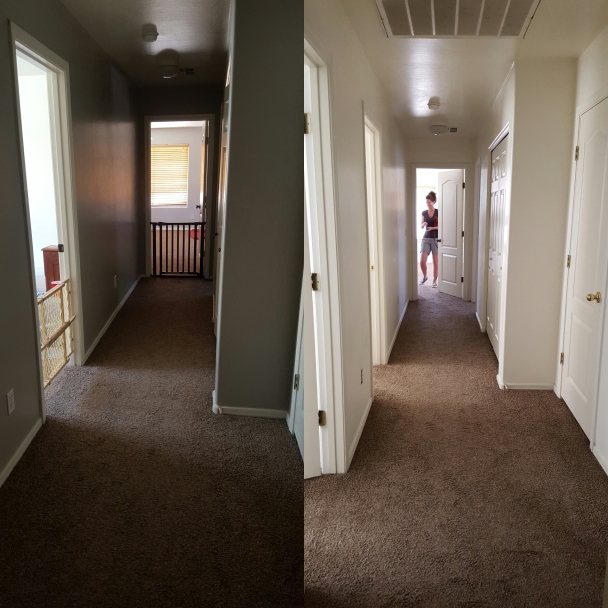
Our project started, as all of them seem to, with a trip to Lowe’s. For the walls, I chose a Sherwin-Williams gray scale with Montpelier Ashlar Gray as the main color and a lighter, Oatlands Subtle Taupe for our entertainment alcove and the area under the counter. I had dreamed of having white kitchen cabinets since I began house hunting and was determined to have them even without the funds to hire a professional or replace the cabinets entirely, so we purchased two gallons of Woodlawn Bedroom White as well. (We also were talked into purchasing a $14.00 handmade and signed, Purdy paintbrush by a VERY convincing employee, in hindsight, this was probably unnecessary. 😀 )
Brent took over the painstaking job of taping off and painting all of the walls and outlets, while I got started on the kitchen cabinets.
- First, each cabinet door was removed, 21 of them to be exact, and brought outside.
- Second, I sanded by hand, every door as well as the drawers and frames, to remove the thin coat of sealant covering them and ensure the paint would spread evenly and stay. This is very important.
- Next, I applied a thin coat of Rust-Oleum® Zinsser® Bulls Eye 1-2-3® Water-Base Primer to all of the cabinets. Then, I was ready to paint!!
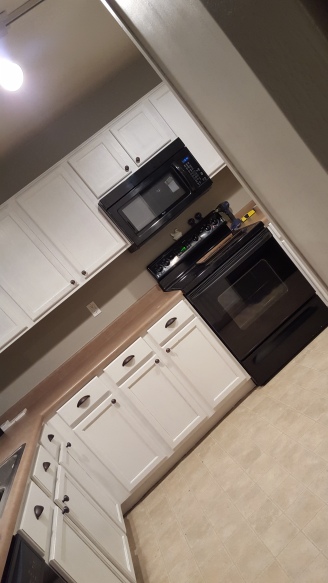
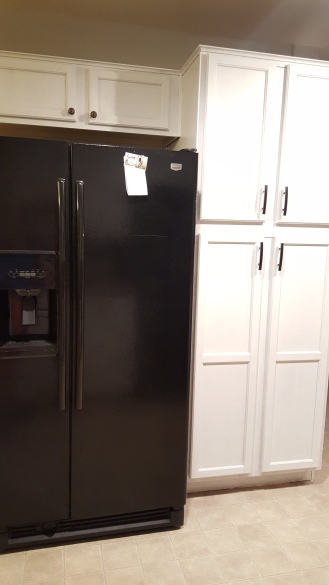
- I applied two coats of the Woodlawn Bedroom White achieving a slightly crackled, rustic appearance. We decided we liked this look and it suited our vision for our kitchen, however, if you desire something more crisp in appearance you would only need to continue adding coats of paint until satisfied.
- Finally, using my fancy paintbrush, I sealed all of the cabinetry with Minwax® Pro Series Spar Urethane to protect against future spills and scrubbing (it is a kitchen after all).
Believing white cabinets and dirty hands to be a poor combination, we purchased a few different brushed bronze pulls to really pull the whole thing together. Word of Caution: Be sure that all of the pulls you pick out of the bins are truly the same, we found that sometimes when they update/restock parts, they may be a slightly different color than the old stock.
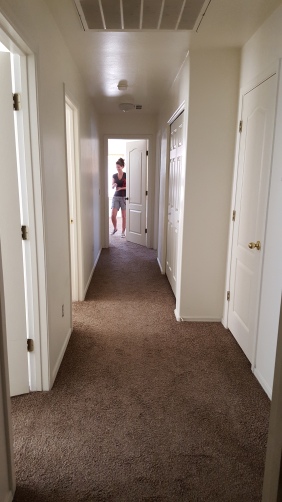
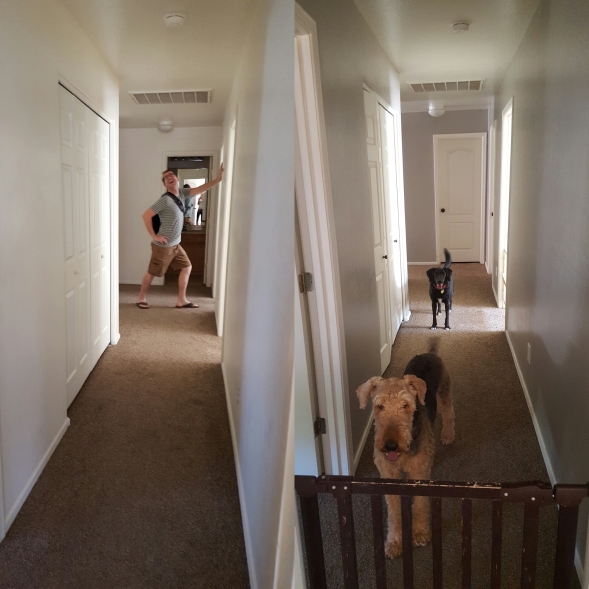
While I was toiling away OUTSIDE, Brent was toiling away inside. In all honesty, he painted the entire inside of our house with little to no help from me. It is amazing how much a few coats of paint can change the appearance of a home.

Our next post will detail how we designed and built a pallet wall from our favorite home improvement site, Pinterest!!

November 21, 2016 at 3:31 AM
This will be fun..😀😄
LikeLike
November 21, 2016 at 3:32 AM
This is fun Abby!
LikeLike
November 22, 2016 at 4:20 PM
I’m super excited to follow this and get some ideas for myself. Good luck, guys! Lots of love ❤
LikeLike